
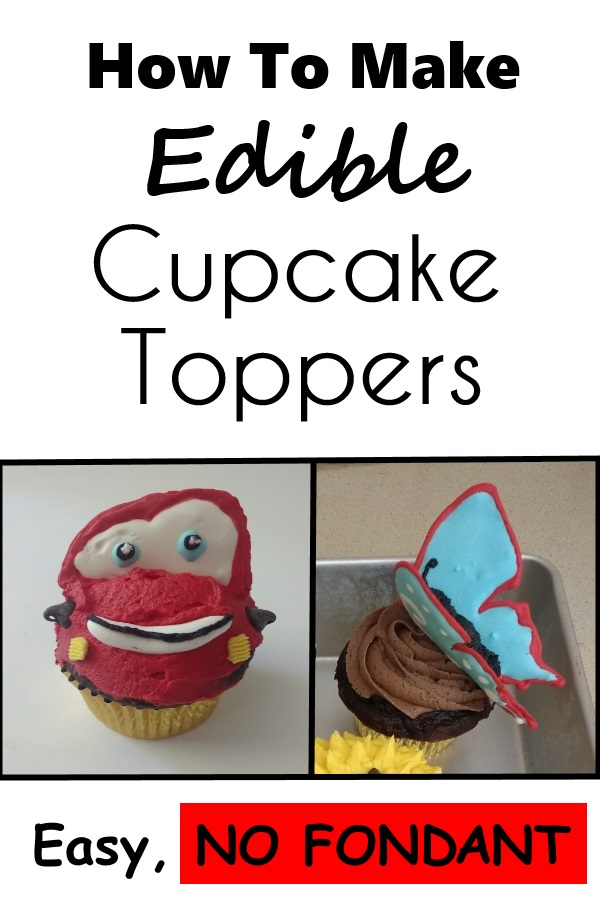
Plus How To Make Edible Cake Decorations And Butterfly Cupcake Toppers
How to make edible cupcake toppers and Cake Decorations? You can make just about any custom edible cupcake topper you want in easy, simple steps. I am going to show you how to make edible cupcake toppers made just from royal icing. This works well too for edible cake decorations and butterfly cupcake toppers.
Since butterfly cupcake toppers are a popular choice I’m going to make butterfly cupcake toppers as one of my examples below. I’m also going to make something more unique and custom so that you can see how to make edible cupcake toppers and how to make edible cake decorations that fit for anything you want.
Save THIS PIN below to your Pinterest Cupcake Decorating board for later!
Items You Need For How To Make Edible Cupcake Toppers
- Parchment paper (Wax paper works too)
- Reusable Piping bags or Disposable Piping Bags (you can substitute this with a ziplock bag and cut one corner to pipe out the icing but a piping bag is easier to use)
- Icing tips – nothing fancy but you want to include a small and medium size writing tip like this set here has (Wilton is a great brand and this set here includes a good, basic set of tips and bags. Like mentioned above, you could also cut the tip off a ziplock bag but these supplies will make it much easier for you)
- Royal icing– see recipe below
- Food Coloring (these are the gel kind)
- Pen and tape
How To Make Edible Cupcake Toppers And Edible Cake Decorations
Step 1: Prepare Your Royal Icing For Edible Cupcake Toppers
Any royal icing recipe should work. Here is a good recipe if you don’t already have one. If you aren’t familiar with royal icing then you’ll need to read the notes. If you already have experience with royal icing then go ahead and skip to the next step after your icing is ready.
Ingredients:
- 3 tbsp meringue powder
- 1/4 cup water (plus more for thinning)
- 1 lb (about 4 cups) powdered sugar
- 1 tsp vanilla extract
Royal Icing Recipe Instructions:
In a bowl, whisk together meringue powder and water until foamy. Add in powdered sugar and vanilla then mix with a hand or stand mixer until icing becomes light and airy, about 2 minutes. The icing should be thick at this point.
This recipe yields a lot of icing so if you only want a few cupcake toppers then cut the recipe in half.
Royal Icing Notes
Here are some good things to know if you aren’t that familiar with royal icing. Made as is, this recipe should be perfect for outlining. It’s thick enough that it keeps its shape when you pipe it out, but not so thick that it won’t come out smooth. You want it to form peaks in the bowl that aren’t too stiff.
Add more powdered sugar if it isn’t stiff enough, or water if it’s too thick. A very small amount of water at a time. A little bit of water will go a long way here. Most people who work with royal icing a lot will even tell you to use a spray bottle. Or just use 1 tsp at a time to a full batch, ¼ tsp to a medium bowl of the icing until you get your consistency. Accidentally too much water? Add powdered sugar.
Royal icing for “flooding” is when you add water (again, a small amount of water will go along way so add a little at a time) to make it runny just enough that it will slowly spread out when you stir it. You don’t need it to be that runny to do the job (and it will be less messy!).
Another Note On This Step
I divide the icing and add food coloring (Step 2) before I change the consistency to flooding icing if I want to use the same color. For example, I want to make these red car decorations. I add red food coloring and then spoon a small amount into a piping bag for outlining. Then I add a small amount of water to the rest of the red icing in the bowl to make my flooding icing and then spoon that into another piping bag.
Step 2: Mix In Food Coloring And Prepare Icing Bags
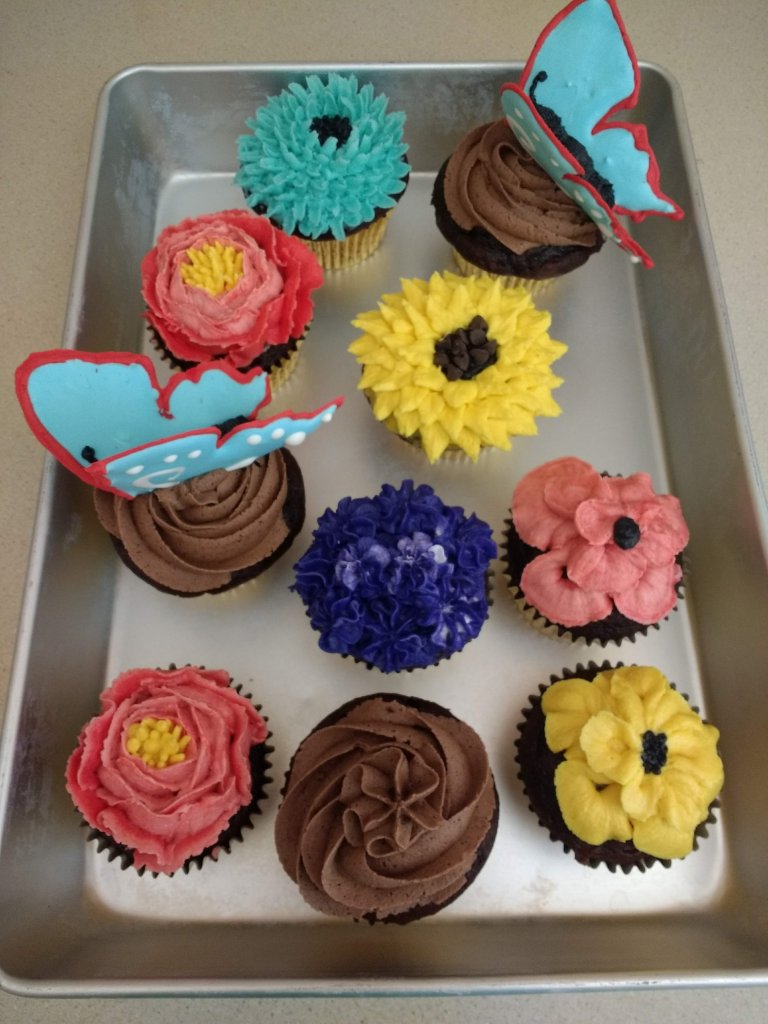
Divide the royal icing into smaller bowls and add the food coloring for your desired colors. To keep it simple, I only mixed up red and light blue. Then I left white in the big icing bowl (no food coloring). This is your “outline” royal icing. Spoon several spoonfuls of each color into a separate icing piping bag.
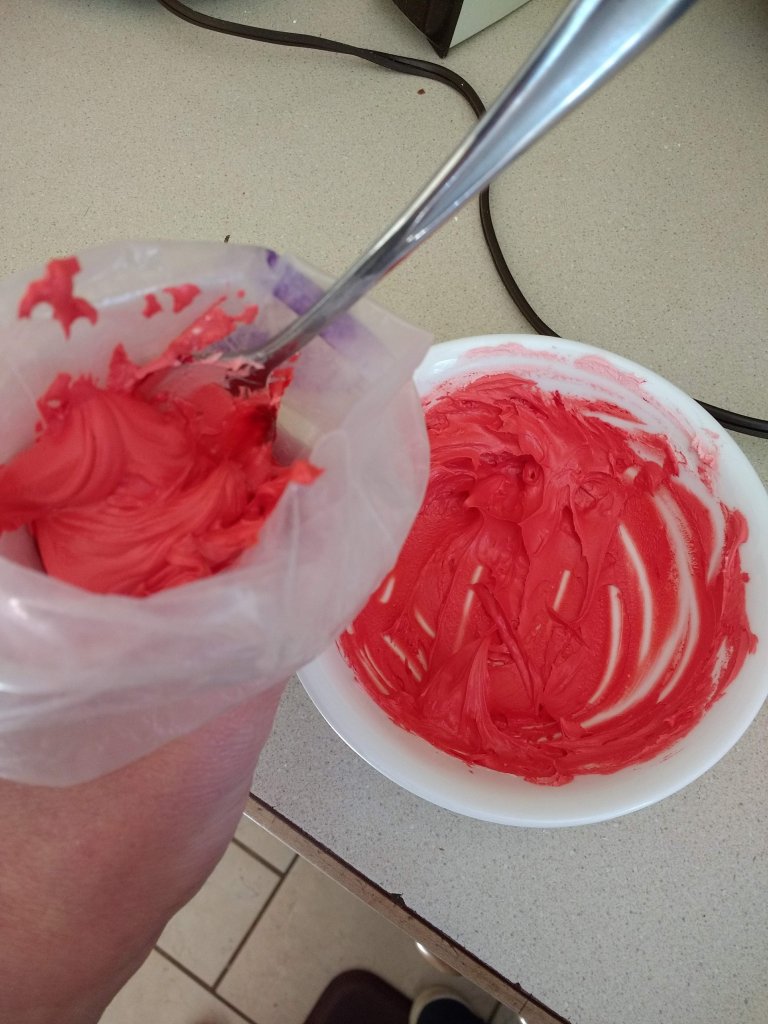
Add a tiny bit of water to the leftover icing in the bowls until you get the “flooding” consistency. Then add the flooding icing to a separate piping bag.
Repeat for however many colors you need.
More Notes
I did mix black and yellow later with buttermilk icing when I was making the cupcakes that these cupcake toppers went on. That’s when I added the tiny extra details.
You don’t want to ice cupcakes with royal icing and especially not a cake (but it’s great for sugar cookies!). This icing is too heavy and runny for putting straight on cakes and cupcakes.
With black and red food coloring you’ll have to add a little more gel than you would for other colors, and then let it sit for a while for the color to deepen. You might think you can only get gray or pink. Just let it rest in the bowl for 10 to 15 minutes and the color will get darker.
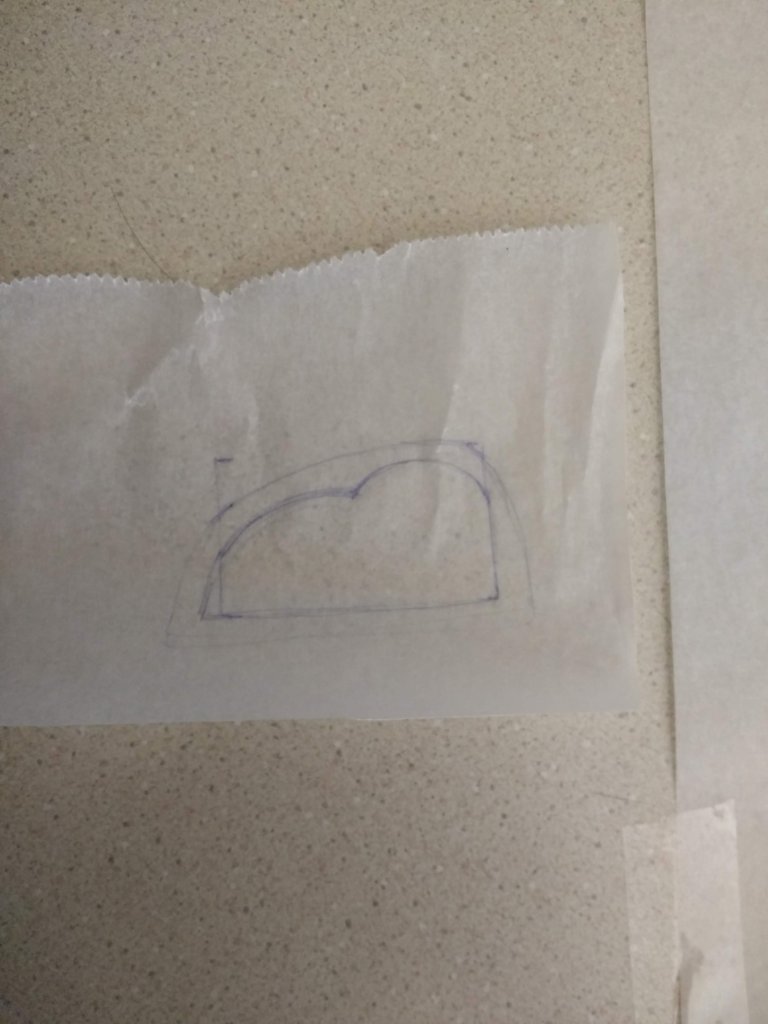
Step 3: Your Design For Edible Cup Decorations
Take a small piece of paper paper and draw any design that you want. Alternatively, you can print out an image.
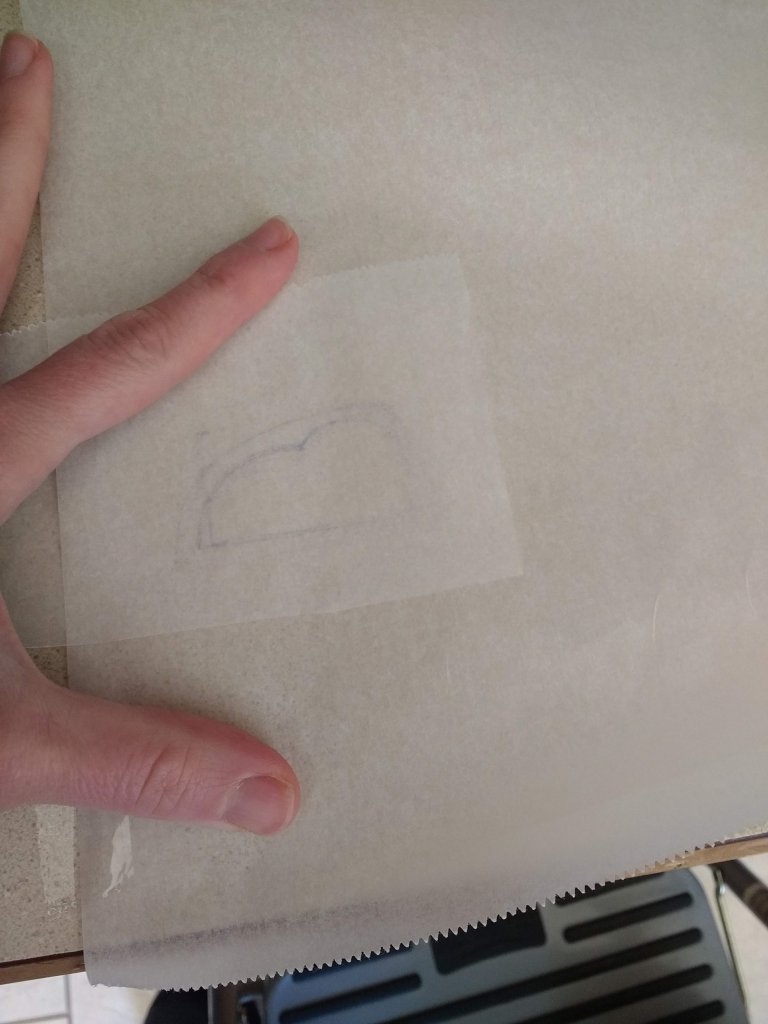
Step 4: Parchment Paper Ready
Tear out a sheet of parchment paper and tape it to your counter or table. Then slide your image underneath the parchment paper, as seen in the picture below. You only need one copy of the design because you’ll be able to slide it in and out as needed.
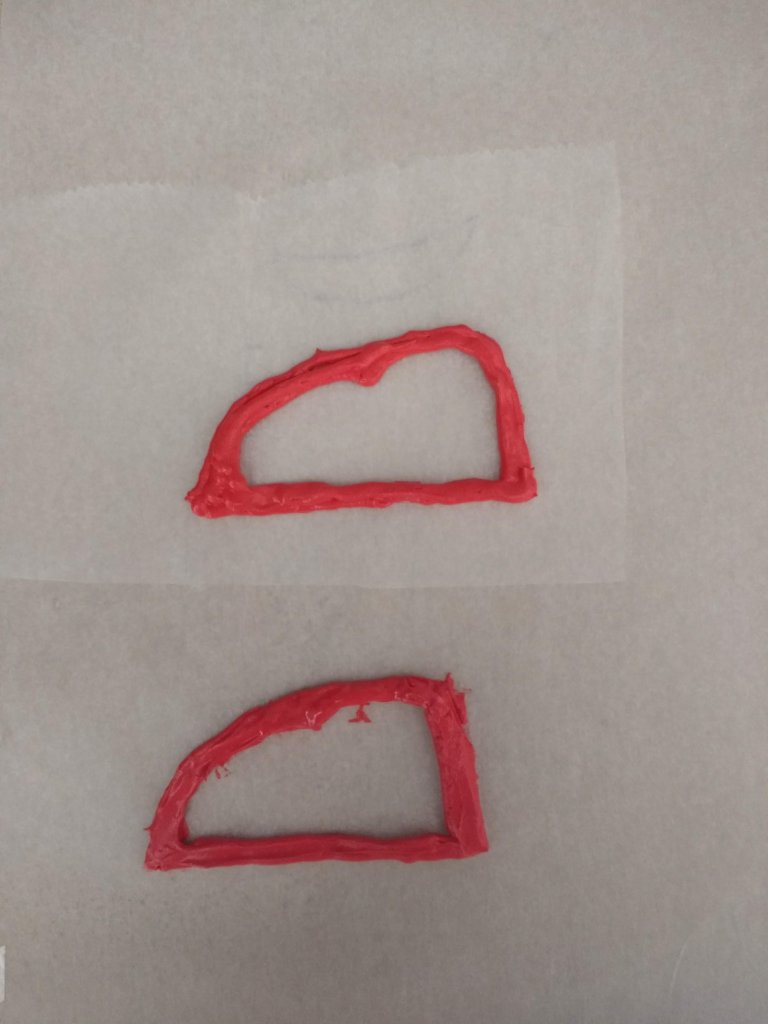
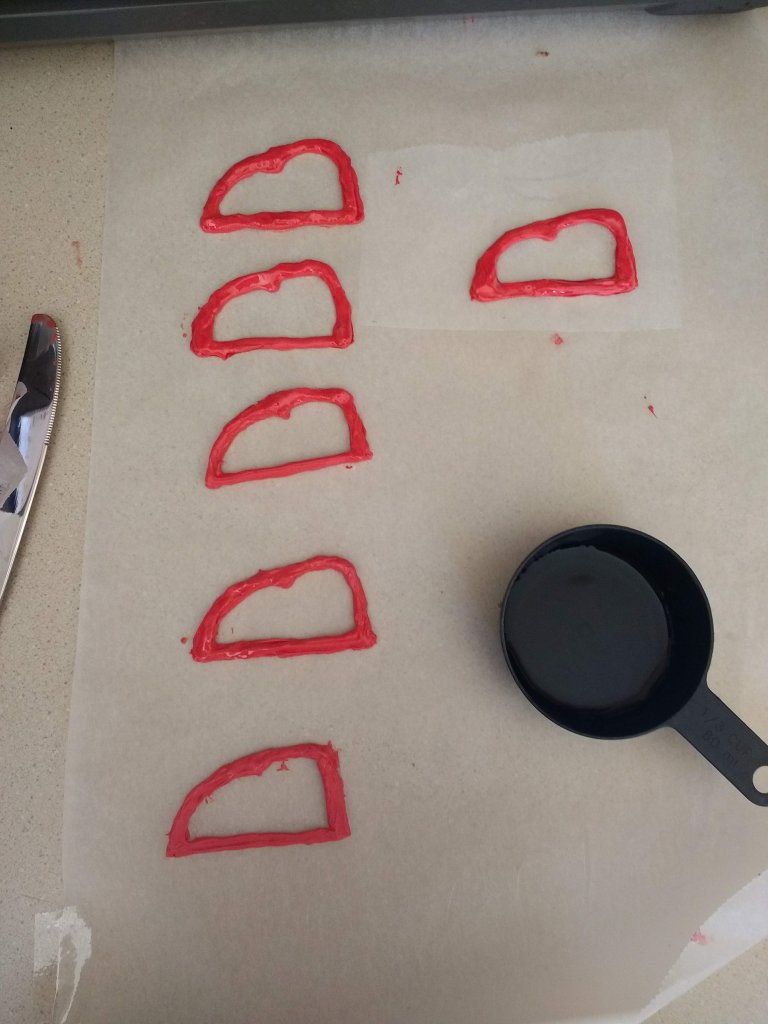
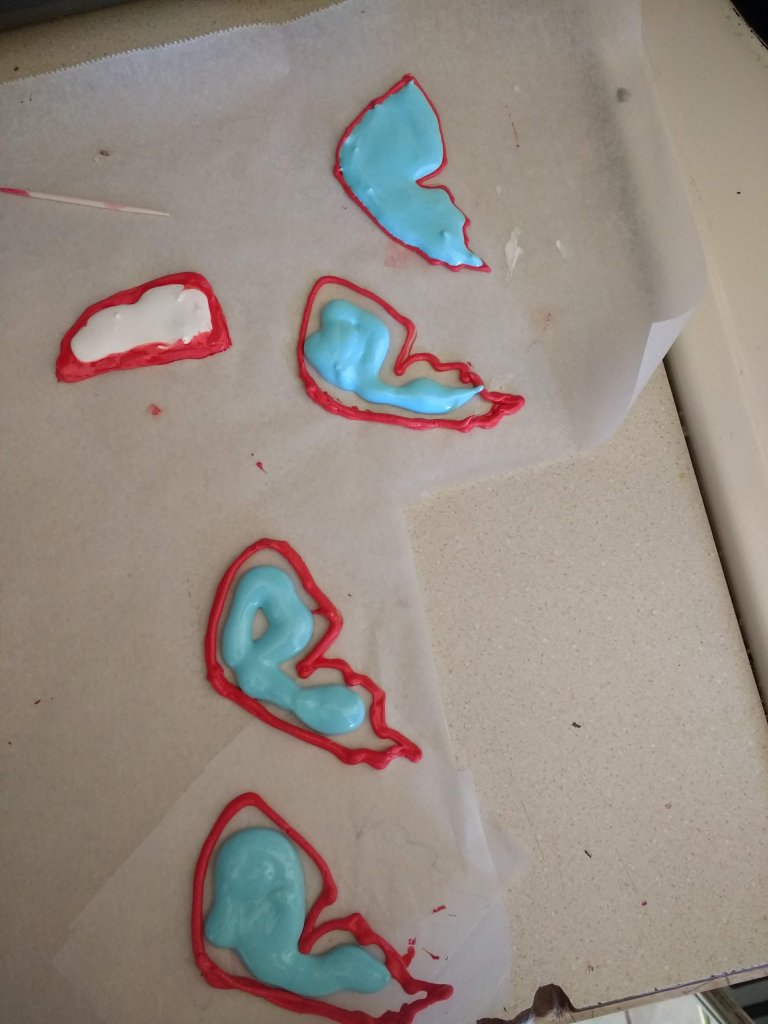
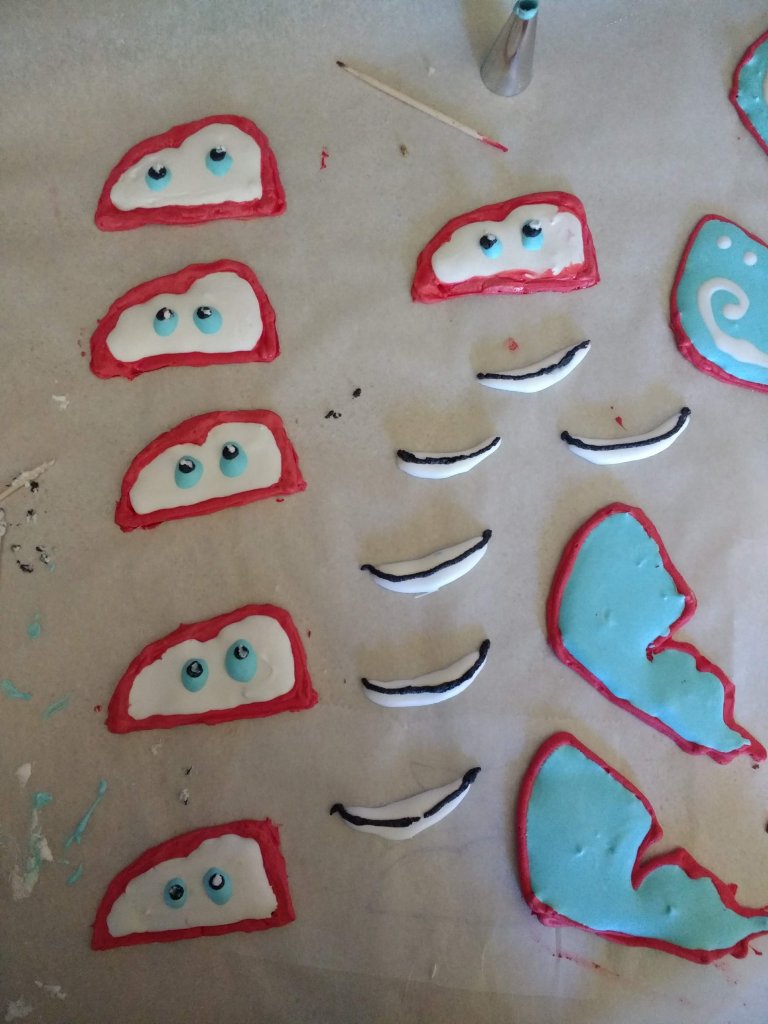
Step 5: Start Outlining Edible Cupcake Toppers
Use your “outline” icing to pipe the outline of the design. The outline doesn’t have to be thick to keep the flood icing inside, but this red outline on the car cupcake toppers is part of the design.
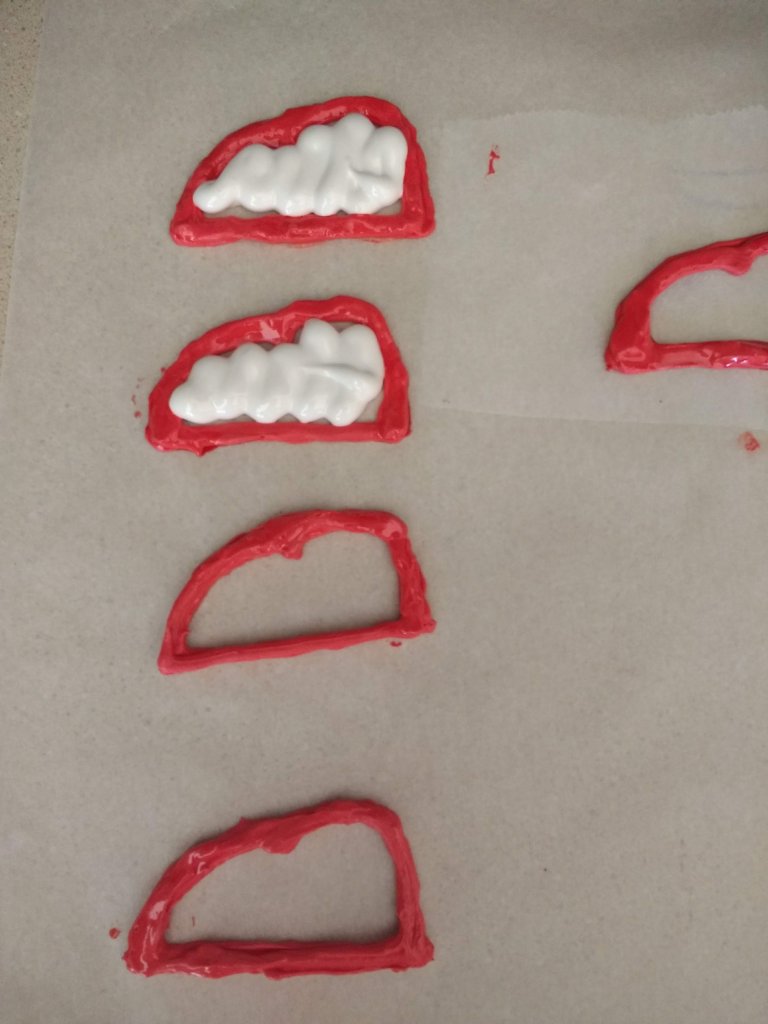
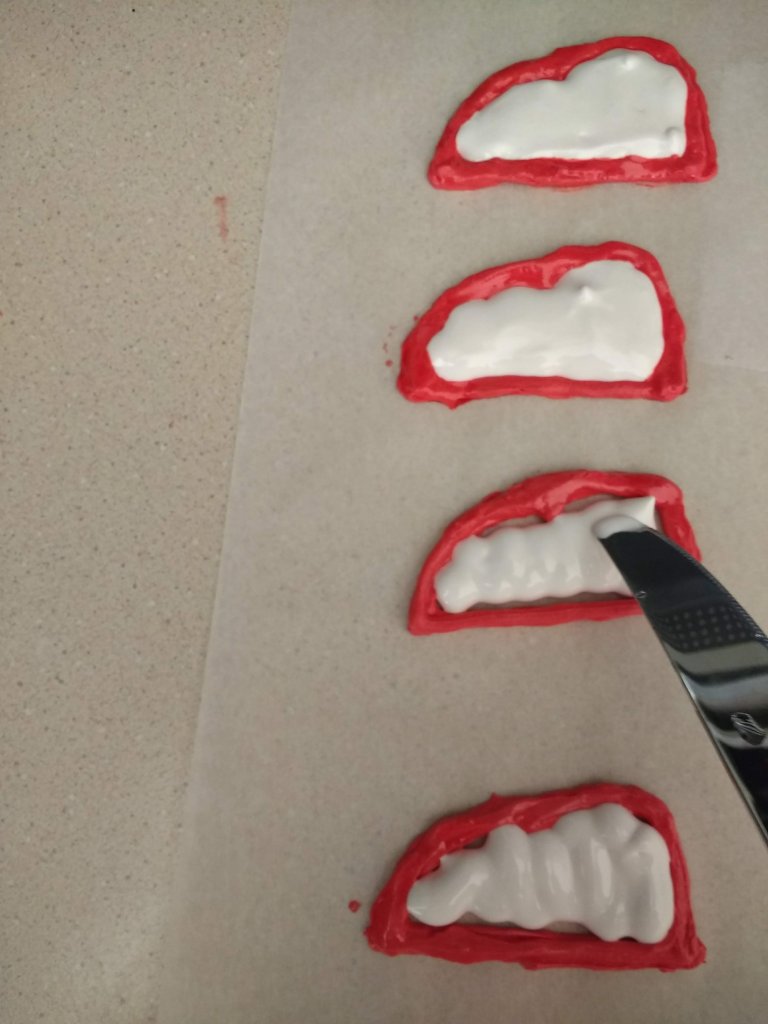
Step 6: Flood In Your Design For Edible Cake Decorations
Fill in your design with the “flooding” icing. The thicker you allow the overall cupcake topper to be the less fragile it will be later when you stick it on the cupcakes or cake.
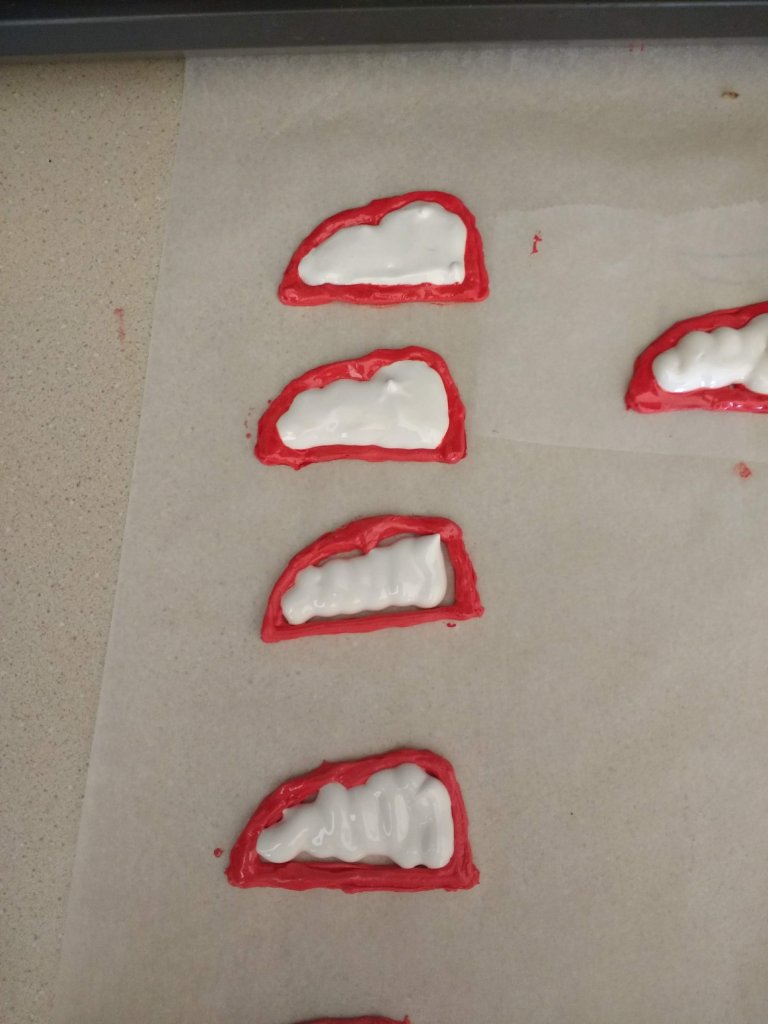
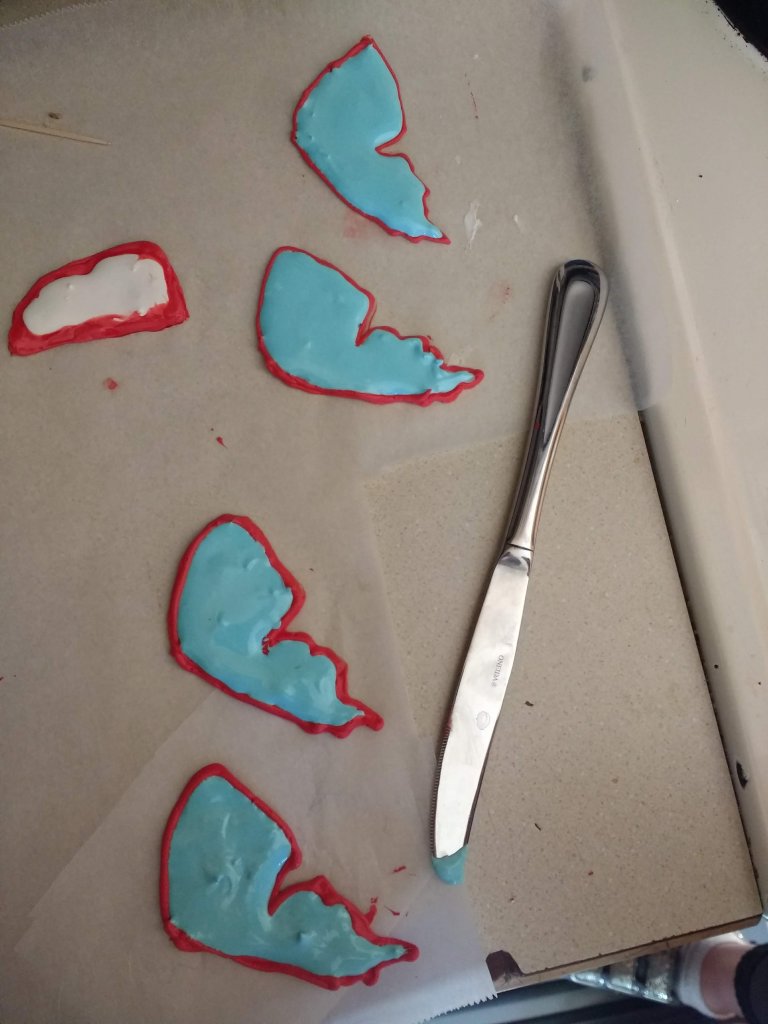
You can use a knife or small sewing pin/ safety pin to help push the flooding icing into the corners or fix a spot you bumped on the outline. You can also dip your finger in some water (barely wet) and smooth out edges or mistakes or to help blend the outlining icing.
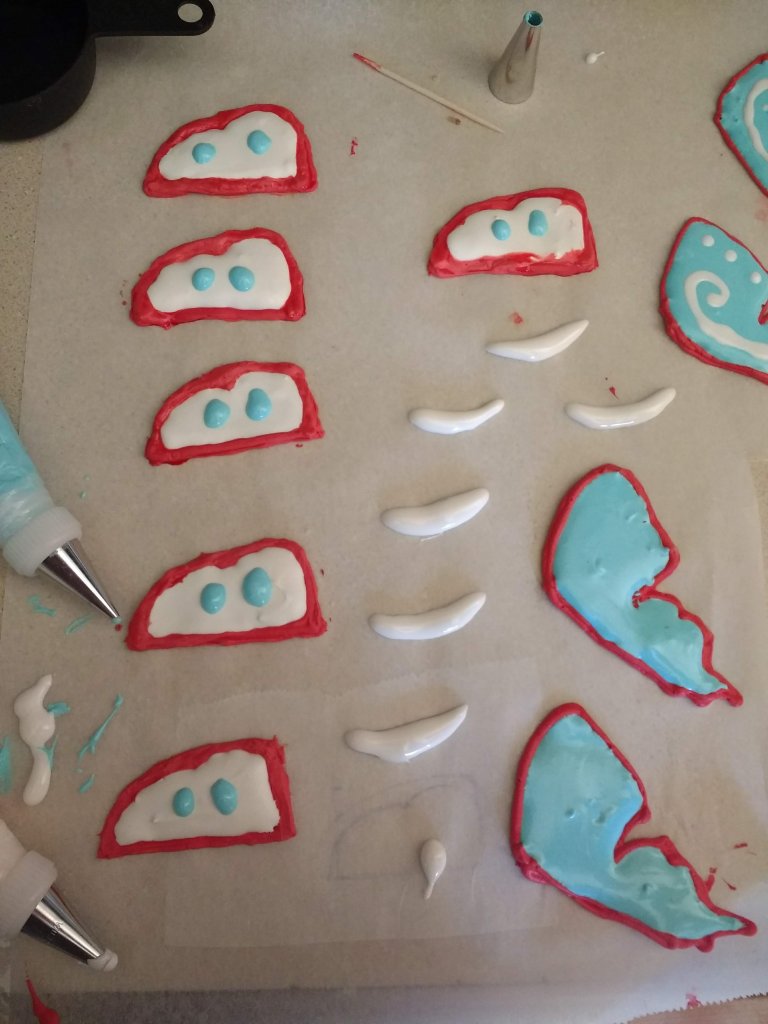
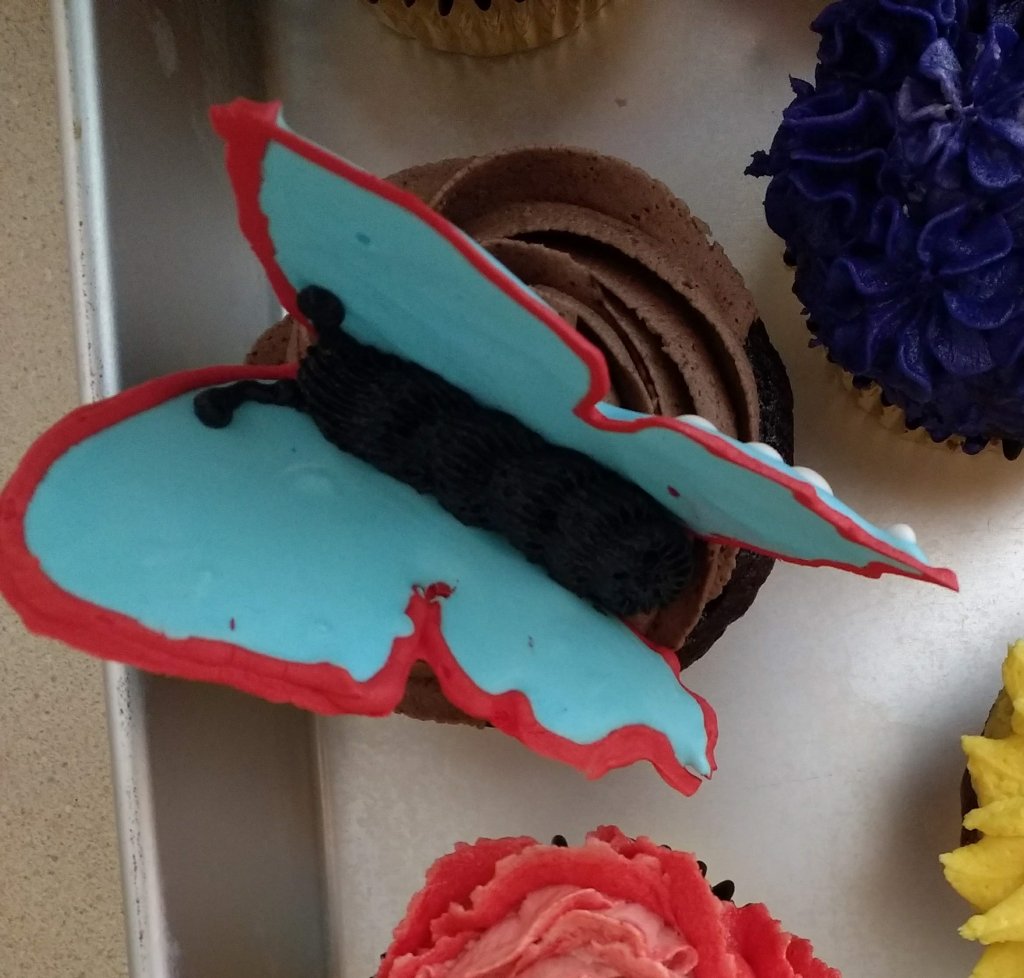
If you want to add design to your butterfly cupcake toppers you can get a toothpick and drag the icing and swirl the colors. I did a shortcut by drawing one butterfly wing instead of a pair. You will need to decide if you want swirl designs on the inside or outside of the wings and how you will flip them.
Step 7: Let Edible Cupcake Toppers Dry
Leave the cupcake toppers to dry. This will take a while. I suggest letting them dry overnight. The next day they will be hard and stiff enough to pop off the parchment paper and handle without smudging but soft enough to bite into. The sugar will dissolve in your mouth.
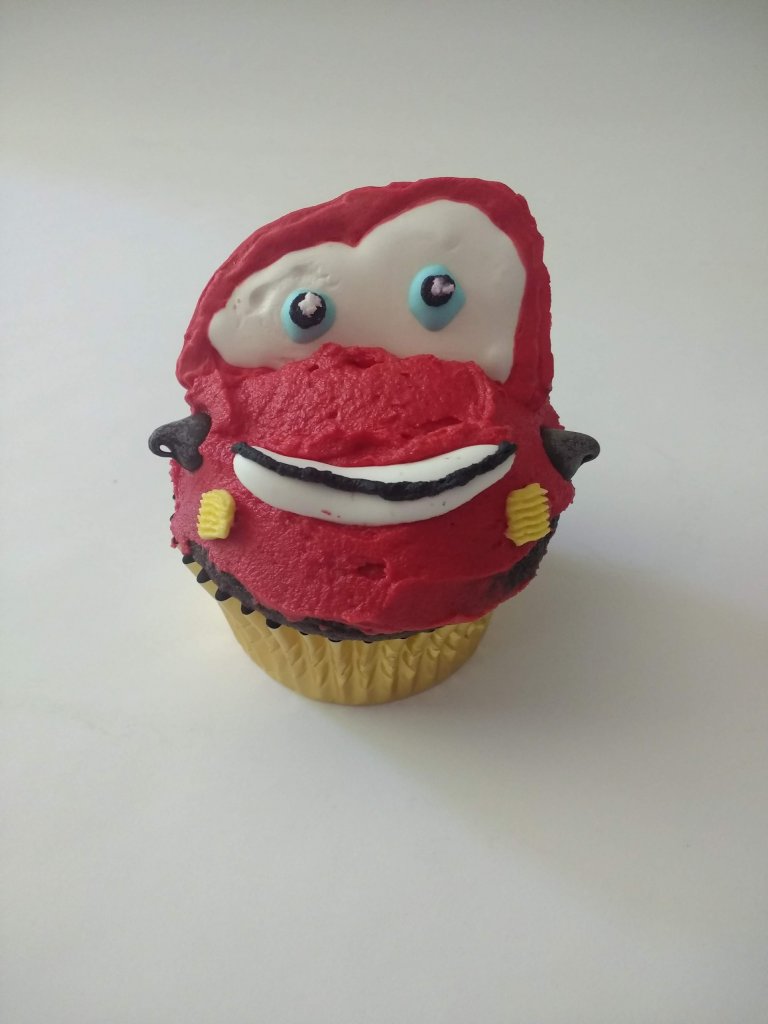
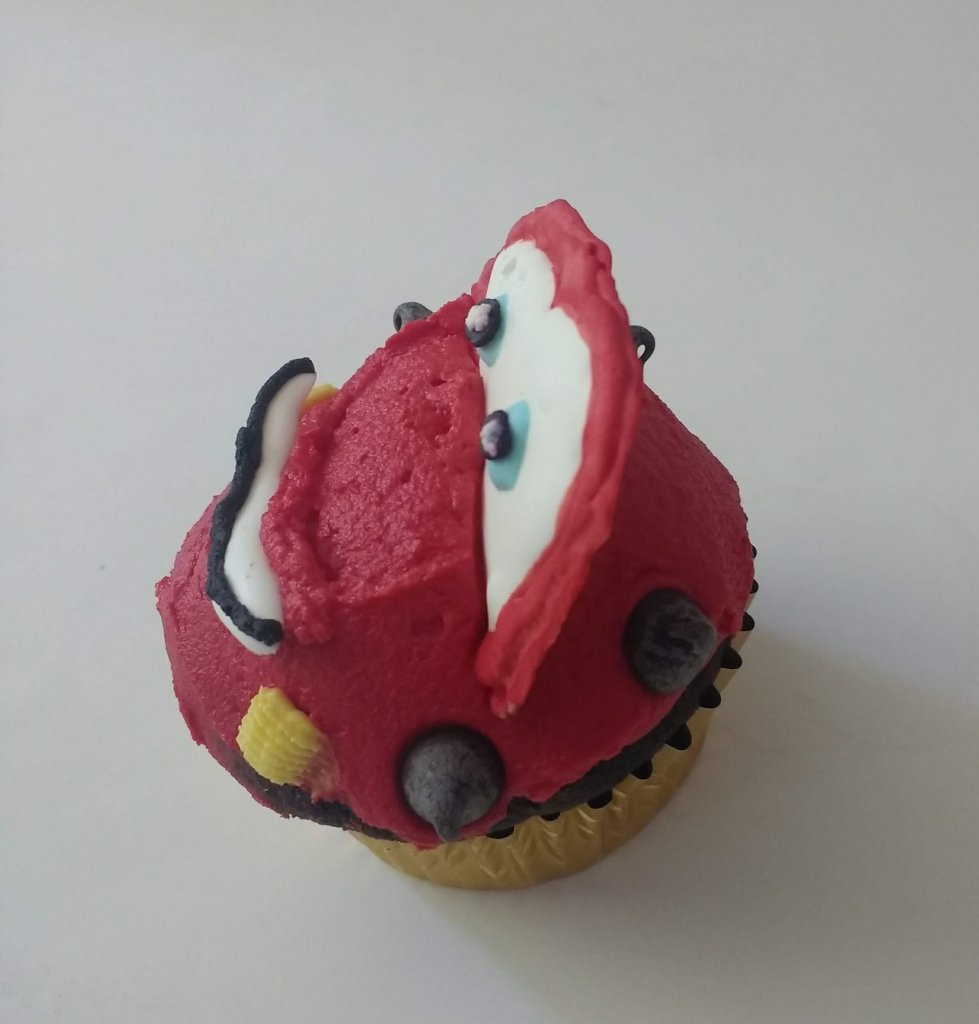
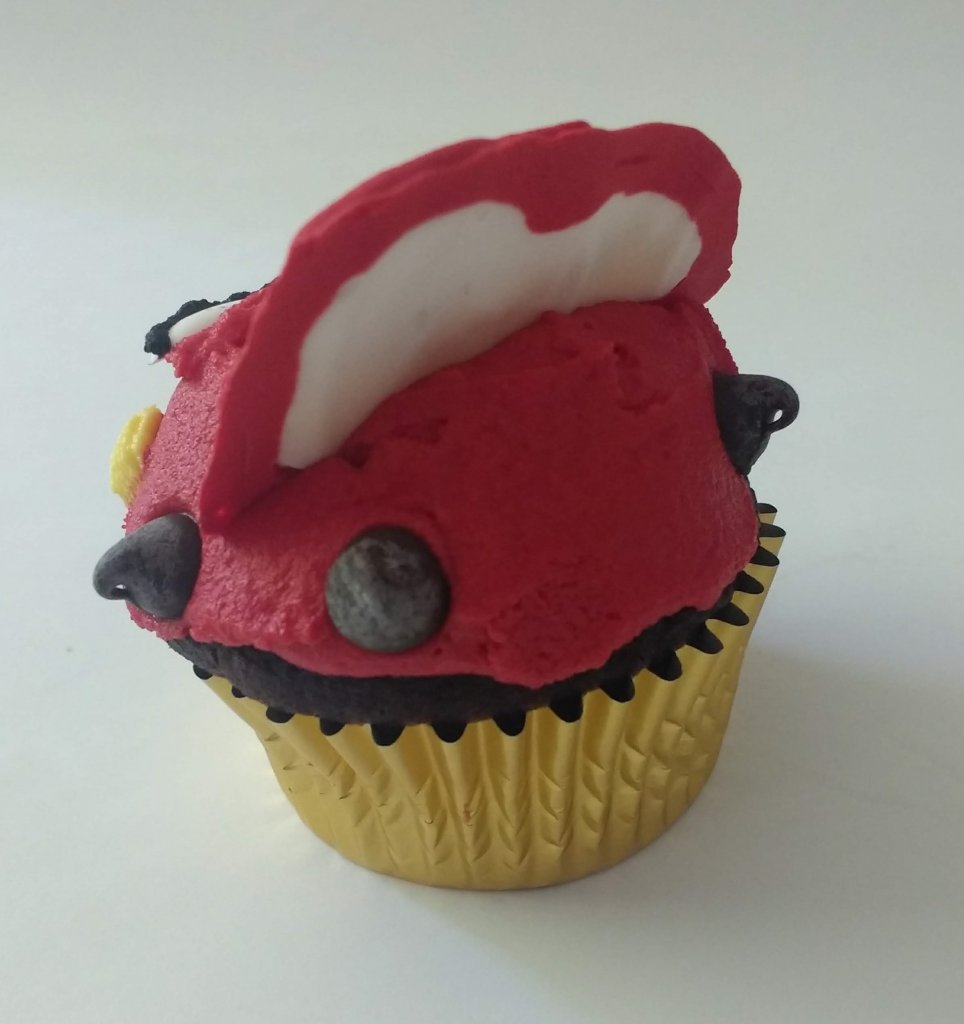
After these were dry, I went back over with buttercream icing for the black details. Peel the edible cupcake toppers from the parchment paper and stick them in the iced cupcakes. They will stick into the buttercream icing. Any other icing that will hold its shape will work too.
For the Butterfly cupcake toppers, pipe out a dark, elongated body shape and stick the wings in at an angle. I then drew antennae straight onto the wings.
More Ideas For How To Make Edible Cupcake Toppers
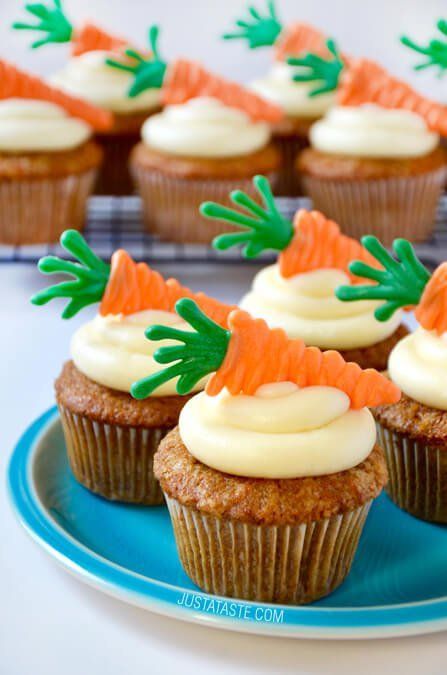
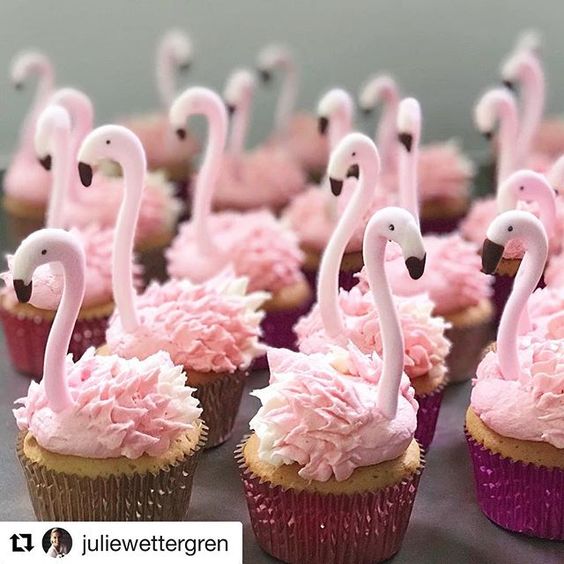
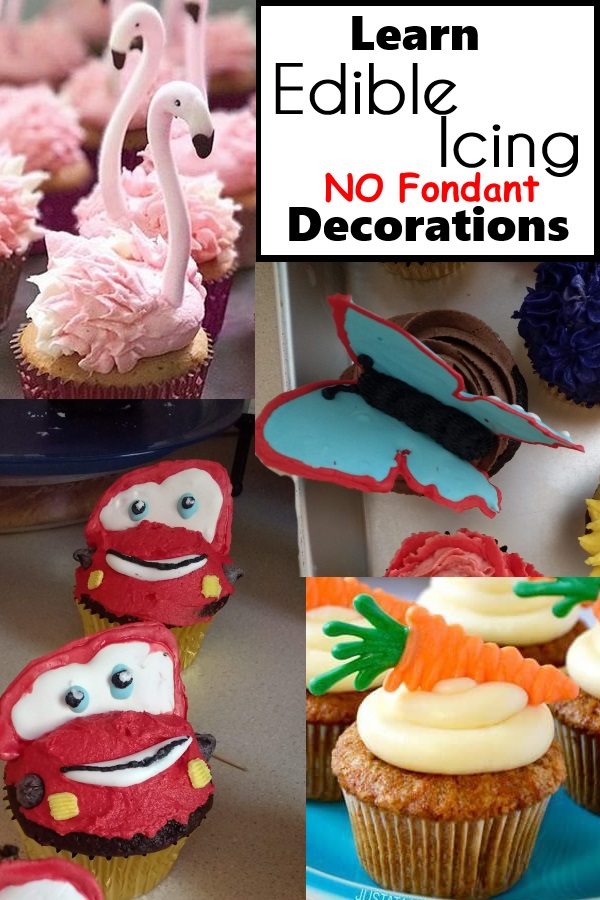
Making edible cupcake toppers this way allows for fun and easy creativity but realize that your design will be mostly flat. You won’t be able to make round bunnies or chicks. Still, there are a lot of cute and beautiful creations. You can lay them flat on iced cupcakes or pop them up. More ideas are snowflakes or the carrots you see below on carrot cake cupcakes (idea from justataste.com). You could make flamingo heads like you see below but they would be flat like your butterfly cupcake toppers.
Thoughts On How To Make Edible Cake Decorations
It can be fun to add dimension on your cake too by popping up a design with edible cake decorations. I have made a picket fence on top of the cake using this same concept.
You can make flowers out of royal icing but keep in mind that royal icing is heavier and will weigh down your cake. If you make flowers with royal icing then it is better to use them as accents for your edible cake decorations. It is better to make edible flower decorations out of buttercream but harder to add straight to a cake and harder to transfer from the parchment paper to the cake since it doesn’t dry completely like the royal icing.
Related Post: How To Make Unicorn Cupcake Cake
Leave a Reply